Showing posts with label CTMH. Show all posts

Thursday, August 9, 2018

Accordion mini album

This album is really easy to make.  I found the instructions on Pinterest to create an accordion album.    I used these instructions. The only thing I changed was using additional pieces of card stock to cover the backside of the thin cardboard I used for the front and back cover.  This would be a personal preference.  I think it gives it a more finished look to not be able to see the cardboard when you open up the album.  It will stick out a little since the covers are cut bigger.  I just used a cereal box for the cardboard.  This album uses the Documented paper pack.  It's a great way to create a small brag book or gift for someone.  


Supplies used to create this project are:

If you have any questions on creating this feel free to comment below.  Also would you prefer if I take photos while creating in addition to the finished project?  Please comment and let me know that too.  Thanks!

~Justine

Thursday, August 2, 2018

Hanging photo frame

Ever have a project that you’ve had in your stash for years just waiting to put together?  Me neither!  In all seriousness I have so many ideas and this happens to be the year I’m making time for me and actually getting them done.  My hope is that this inspires you and lets you release some of the guilt from buying said project(s) so that you can enjoy the creative process!

I purchased this kit so long ago I have no idea where I got it but I’m sure these are still available at a craft store.  I had liked the project but wasn’t crazy about the papers and ribbons that were included.  So instead I used the Beautiful Friendship paper, complements, white pearls, white enamel dots, bashful enamel dots, white twine, light grey ribbon, clear shimmer brush, and fresh air shapes.


Wednesday, January 31, 2018

How to books

  Today's topic, are the how-to books from Close to My Heart.  There are four volumes, with three and four being the most recently released within the last year.  Volumes three and four are packaged differently than the older volumes.  You slip these volumes into an Everyday Life album.  They're a convenient size and lay flat or could be propped up to easily view the instructions.  So why would someone consider purchasing one of these books when there's Pinterest?  I love Pinterest just as much as the next girl and enjoy pinning beautiful artwork that inspires me.  However it's easy to get lost down that rabbit hole and lose a lot of your time.  Your time is valuable and most people say I don't have time to be creative.  Or I could never make something like that because I'm just not a creative person.  I'm going to let you in on a secret, even creative people experience a block every now and again.  Well these books are there to help you move past that!


  So let's move into the details of these books and why they could help you.  Volume three has 36 two-page layout patterns for standard photo sizes.  As well as artwork that shows you how to include Pocket Plus pages.  The measurements are included and easy to read to create the layouts.  They also have two different completed layouts pictured so that you can see how the layouts can be used for any theme.  Each one also features creative tips on how to create special features on a layout.  Using standard photo sizes (4x6, 3x3, 3x4,...) are what takes your layout up a notch.  It provides a more cohesive look to your layout.  But sometimes you happen to take a lot of pictures at an event and would like to include them all in the one layout.  That's where the Pocket Plus pages come in!  There are multiple sizes and photo configurations available.  *So here's a tip:  if you are looking to print a 3x4 photo in landscape or portrait.  Download the Project Life App from the App Store.  It was only $2.99!  In the app you can fit two 3x4 pictures on a 4x6 layout, then you save it and have it printed wherever you purchase your prints.  This also helps to cut down on the cost of printing.*


  Volume four has 24 patterns to create cards for any occasion in the standard 4 1/4"x5 1/2"size.  Again there are two artwork samples and creative tips for each card shown too.  Cards don't come as naturally to me so having this is such a valuable tool.  The measurements are listed for the cards too.  I don't have a large amount of cards on hand but I can say that my stock has come through on several occasions.  When you realize that you forgot to pick up a card or you have a last minute thank you to mail out it can be annoying to have to drive back to the store just for that item.  It's nice to have them all ready to go, an added bonus is that being homemade adds a personal touch.


  I hope that you find this helpful to take a closer look at what's inside these How-to books.  Having a creative outlet is a great way to relax and have fun with your friends and having the right tools can help you with that.  If you have any questions please let me know!  

Sincerely,
Justine


Wednesday, August 2, 2017

Photo display

  Earlier this year Close to My Heart put out a wreath kit.  The base was made from a thick chipboard.  I've been trying to figure out what I wanted to create with the center piece from that kit.  So after mulling over ideas for months I finally decided.  You'll notice that's a trend with me.  I take forever to research and finally make a decision but I like to be thorough.  I have a plate display from my Grandma that I've been waiting use.  Using several new products from Close to My Heart I set out to make a photo display.

   I painted the circle with black and blue acrylic paint.  At first I tried my water colors but they were too light so I painted right over it.  I used the new constellations stamp set and heat embossed the images using white or silver powders.  I use VersaMark ink when I heat emboss.  I used the new family thin cut to cut out the word family.  There are various papers mixed from the brand new basic fundamentals and enchantment fundamentals  lines.  The embellishments are are mix of things I have in my stash.


  I love showing people how to be consumable with their crafting stash.  This project would be a good gift too!  You could do a theme from a trip, or even a holiday.  I'd like to try this next with an embroidery hoop and material or paper to see how that would work.  I'd love to hear if you plan to try this.  As always you can check out these products and all the new stuff on my site at www.justineharris.ctmh.com.

Sincerely,
Justine 

Thursday, July 13, 2017

Retiform

Hey everyone,
  Yesterday someone on our team page posted a card that used a technique called Retiform or Grid technique.  I had never heard of it before but it looked really cool.  So of course I turned to my go to crafty research app Pinterest!

  This technique really isn't difficult.  I'm not advanced at stamping, I'm still learning and have a long way to go.  So for this technique I chose a beach theme because I needed to make my SIL a birthday card and she loves the beach.   So I gathered my No Worries, Swirly Seashells, and Birthday Sparkles stamp sets.  I cut my white Daisy to 5x3 3/4".  The Seaglass is cut at 5 1/4"x4".  You'll also need a sponge dauber, two inks, a scrap of paper that has a longer straight edge, and some post it notes. This post is really photo heavy but you'll be able to see how easy it is.  Some tips that I have are that you have to watch if the ink is soaking through the post it note so you might want to try to use an additional scrap of paper.  I am going to try that myself next time just to see which I prefer to use.  The inks that I used were Sea Glass and Juniper.


  Here are the two cards that I created with this technique.  I used foam tape for a little dimension on these cards.  


  If you have any questions feel free to ask.  I've linked some of the products that were used below, or you can find more products on my site at justineharris.closetomyheart.com.   Thanks for reading.

-Justine


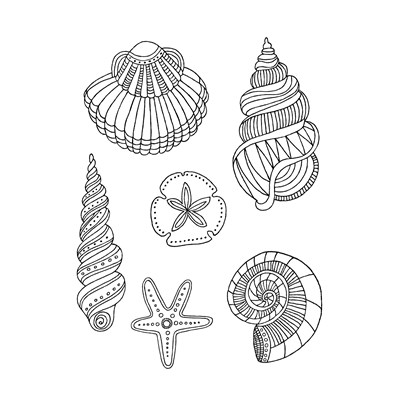
            Swirly Seashells                                No Worries
product imageproduct image
       Sea Glass cardstock                                     3-D foam tape
product image
product image

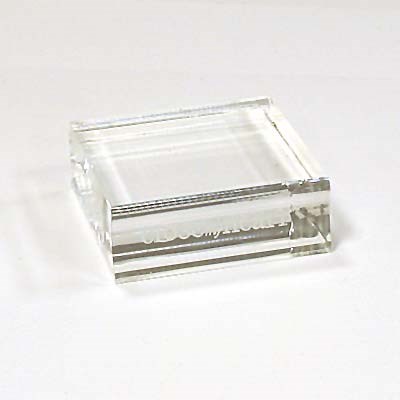
              2"x2" block
product image

Thursday, April 21, 2016

Make a Wish

Today I'm sharing a card that my crop attendees will be making.  I'm creating a set of cards for different occasions for them.  I know that I always seem to need a masculine birthday card and have none on hand.  If you find you have that issue too then let me recommend the Urban paperpack!  I love the colors and prints on these papers.  These papers definitely have a masculine feel to them.  

Now for the details on how I created this card!  I used a standard A2 size card in white daisy.  I cut the background piece of paper 5.25"x4".  I used the triangle image from the Crazy Good stamp set.  When I inked that image I tapped to get a decent amount of Saffron ink on the stamp.  Then I drug it across the stamp pad to get those little lines, you could also just stamp the image the normal way.  The piece of kraft cardstock was cut 1.5"x4".  The little strip with the image is the zip strip from the top of the background sheet.  I just cut that off the top of the sheet first, then cut it to 4" across.  I cut an additional piece of White Daisy to 2"x2".  I used Sapphire ink for the sentiment.  Make a wish is from the mini stamp set Wish.  After I stamped the sentiment I used a sponge and dabbed it in Slate ink to distress the edges.  I attached it to the card using foam tape.  I finished the card off on the inside with a saying from the Birthday Funnies set.  That set is a hostess rewards stamp set that you can get for $5 when you reach your party minimum.  


Do you find masculine cards a challenge?
~Justine