Showing posts with label clear stamps. Show all posts

Thursday, July 13, 2017

Retiform

Hey everyone,
  Yesterday someone on our team page posted a card that used a technique called Retiform or Grid technique.  I had never heard of it before but it looked really cool.  So of course I turned to my go to crafty research app Pinterest!

  This technique really isn't difficult.  I'm not advanced at stamping, I'm still learning and have a long way to go.  So for this technique I chose a beach theme because I needed to make my SIL a birthday card and she loves the beach.   So I gathered my No Worries, Swirly Seashells, and Birthday Sparkles stamp sets.  I cut my white Daisy to 5x3 3/4".  The Seaglass is cut at 5 1/4"x4".  You'll also need a sponge dauber, two inks, a scrap of paper that has a longer straight edge, and some post it notes. This post is really photo heavy but you'll be able to see how easy it is.  Some tips that I have are that you have to watch if the ink is soaking through the post it note so you might want to try to use an additional scrap of paper.  I am going to try that myself next time just to see which I prefer to use.  The inks that I used were Sea Glass and Juniper.


  Here are the two cards that I created with this technique.  I used foam tape for a little dimension on these cards.  


  If you have any questions feel free to ask.  I've linked some of the products that were used below, or you can find more products on my site at justineharris.closetomyheart.com.   Thanks for reading.

-Justine
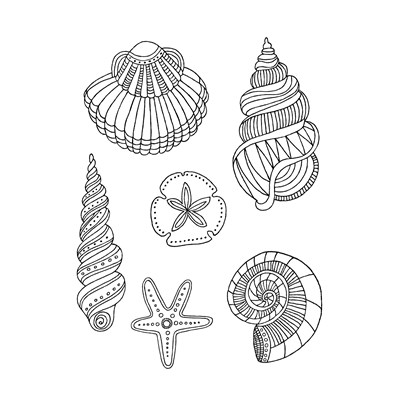

            Swirly Seashells                                No Worries
product imageproduct image
       Sea Glass cardstock                                     3-D foam tape
product image
product image

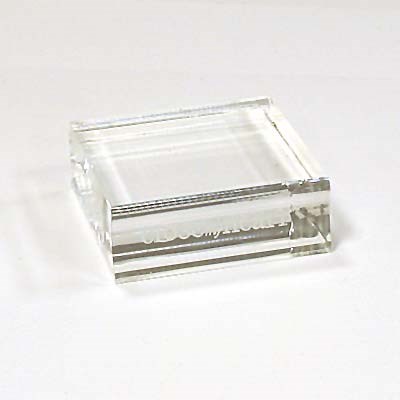
              2"x2" block
product image

Thursday, April 21, 2016

Make a Wish

Today I'm sharing a card that my crop attendees will be making.  I'm creating a set of cards for different occasions for them.  I know that I always seem to need a masculine birthday card and have none on hand.  If you find you have that issue too then let me recommend the Urban paperpack!  I love the colors and prints on these papers.  These papers definitely have a masculine feel to them.  

Now for the details on how I created this card!  I used a standard A2 size card in white daisy.  I cut the background piece of paper 5.25"x4".  I used the triangle image from the Crazy Good stamp set.  When I inked that image I tapped to get a decent amount of Saffron ink on the stamp.  Then I drug it across the stamp pad to get those little lines, you could also just stamp the image the normal way.  The piece of kraft cardstock was cut 1.5"x4".  The little strip with the image is the zip strip from the top of the background sheet.  I just cut that off the top of the sheet first, then cut it to 4" across.  I cut an additional piece of White Daisy to 2"x2".  I used Sapphire ink for the sentiment.  Make a wish is from the mini stamp set Wish.  After I stamped the sentiment I used a sponge and dabbed it in Slate ink to distress the edges.  I attached it to the card using foam tape.  I finished the card off on the inside with a saying from the Birthday Funnies set.  That set is a hostess rewards stamp set that you can get for $5 when you reach your party minimum.  


Do you find masculine cards a challenge?
~Justine


Thursday, April 14, 2016

Oh so happy

  I've been working on a two page layout for my crop attendees.  I happened to have a decent stash of Blossom paper left and it's a great spring time paper.  I'm really happy (haha) with how it turned out!  I used Glacier, Lagoon, Sunset, Sorbet, and Pear inks.  There's a little strip of Kaleidoscope in there too.  I also used a masking technique for the first time to create a layered look with the flowers.  

  I recently had a conversation with a friend about scrapbooking and she said she's been told many times "there's no right or wrong way to scrapbook."  That she gets frustrated when things don't look perfect.  I can agree with wanting your pages to look perfect when you get done.  I'll be honest, I've scrapbooked for 10 years and I usually mess something up every time!  It's rare for me to scrapbook when the kids aren't around, so that's usually when mistakes happen.  Today I stuck a paper down before it was lined up straight so when I pulled it up it ripped the paper a little.  But you can't tell because I covered it up once I got the paper on correctly.  I was supposed to stick the green Kaleidoscope strip down before I stuck my photo mats down.  Of course I didn't notice until after so I just cut little pieces and stuck them where they would be showing had I put it down correctly.  Also one photo mat is off center, but you know what?  When you look at the whole thing all together those flaws fade away.  Why?  Because it's about the photos and the memories and the person documenting them.  Scrapbooking is an artistic expression of how you want to document your memories.  Flaws, imperfections and all!  
 
  I'd like to challenge you to relax and enjoy the process.  Also, if you make a mistake embellish it or cover it up :)


~Justine
Products used to create this layout:


Sunday, April 3, 2016

Life in Pictures

The April stamp of the month is called Life in Pictures.  I LOVE this set mostly because I love old cameras and vintage things.  This set is available through April 30, 2016.  The set costs $17.95 normally, but if you spend $50 you can get the set for only $5!!  Definitely worth it for this set.


A fellow consultant Sandy Zimmer posted a beautiful layout that she was inspired to make.  Well I loved hers so much I wanted to make my own to showcase this stamp set.  I used almost every stamp in the set making the layout too!  


Here's one from corporate's design team:


The supplies used to create my layout are listed below.


Happy crafting!

~Justine